|
Bill Collins 904-247-2865 wvi@comcast.net |
||||||||||||||||||||||||||||||||
|
||||||||||||||||||||||||||||||||
| "CLICK ON PHOTOS FOR A BETTER VIEW" | ||||||||||||||||||||||||||||||||
| CONSOLE
REMOVAL & BILGE CLEANING |
||||||||||||||||||||||||||||||||
|
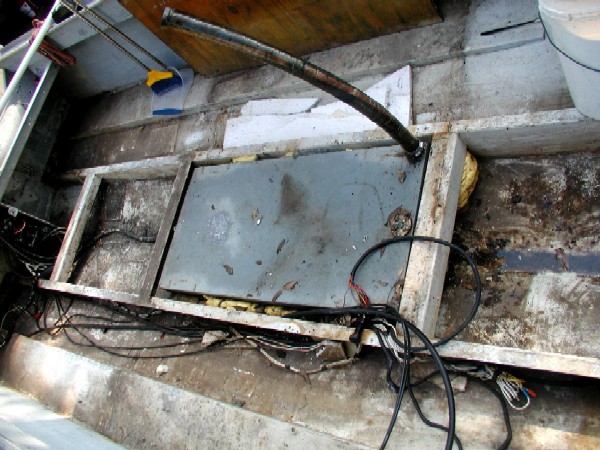
Console is made of ALUMINUM The built in Aluminum, fuel tank is BELOW the console area. |
||||||||||||||||||||||||||||||||
| I be
chillen in the shade, while I am working in that "tiny" hole!
|
||||||||||||||||||||||||||||||||
 |
||||||||||||||||||||||||||||||||
| It is GONE!
|
||||||||||||||||||||||||||||||||

When the construction phase starts, I
can only "PRAY" |
||||||||||||||||||||||||||||||||
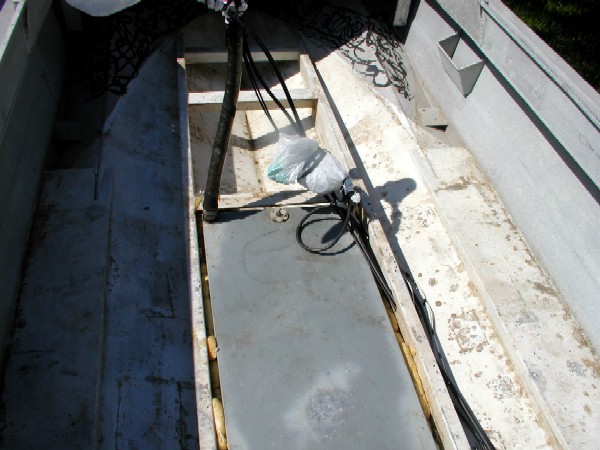
| I was able to
remove the last
piece of Plywood, decking!
|
||||||||||||||||||||||||||||||||
|
||||||||||||||||||||||||||||||||
|
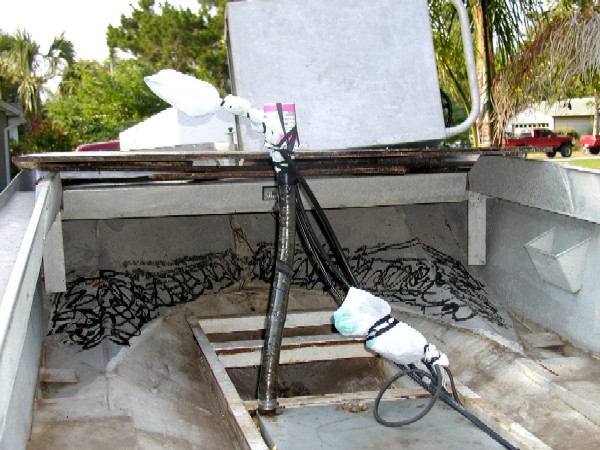
I want to make sure NO WATER "rain" gets
in the fuel.
|
||||||||||||||||||||||||||||||||
|
DIRTY BILGES!
Fuel Tank in center |
||||||||||||||||||||||||||||||||
|
OLD FOAM FLOTATION! I had previously removed all the other trash / flotation material.
|
||||||||||||||||||||||||||||||||
|
CLEAN BILGES! Pressure washer was working
GOOD!
|
||||||||||||||||||||||||||||||||
|
||||||||||||||||||||||||||||||||

|
||||||||||||||||||||||||||||||||
|
BLUE Tarp to cover fuel tank area!
Hydraulic Tilt Trim pump / tank With Fuel / water
separator behind it. |
||||||||||||||||||||||||||||||||
|
||||||||||||||||||||||||||||||||
 YEP, I'm a DEMOCRAT! HA!!! On the ARMY thing, both of my sons joined! For me, EVERY DAY is Veterans Day and |
||||||||||||||||||||||||||||||||